Bouquet from the Daisy Garden

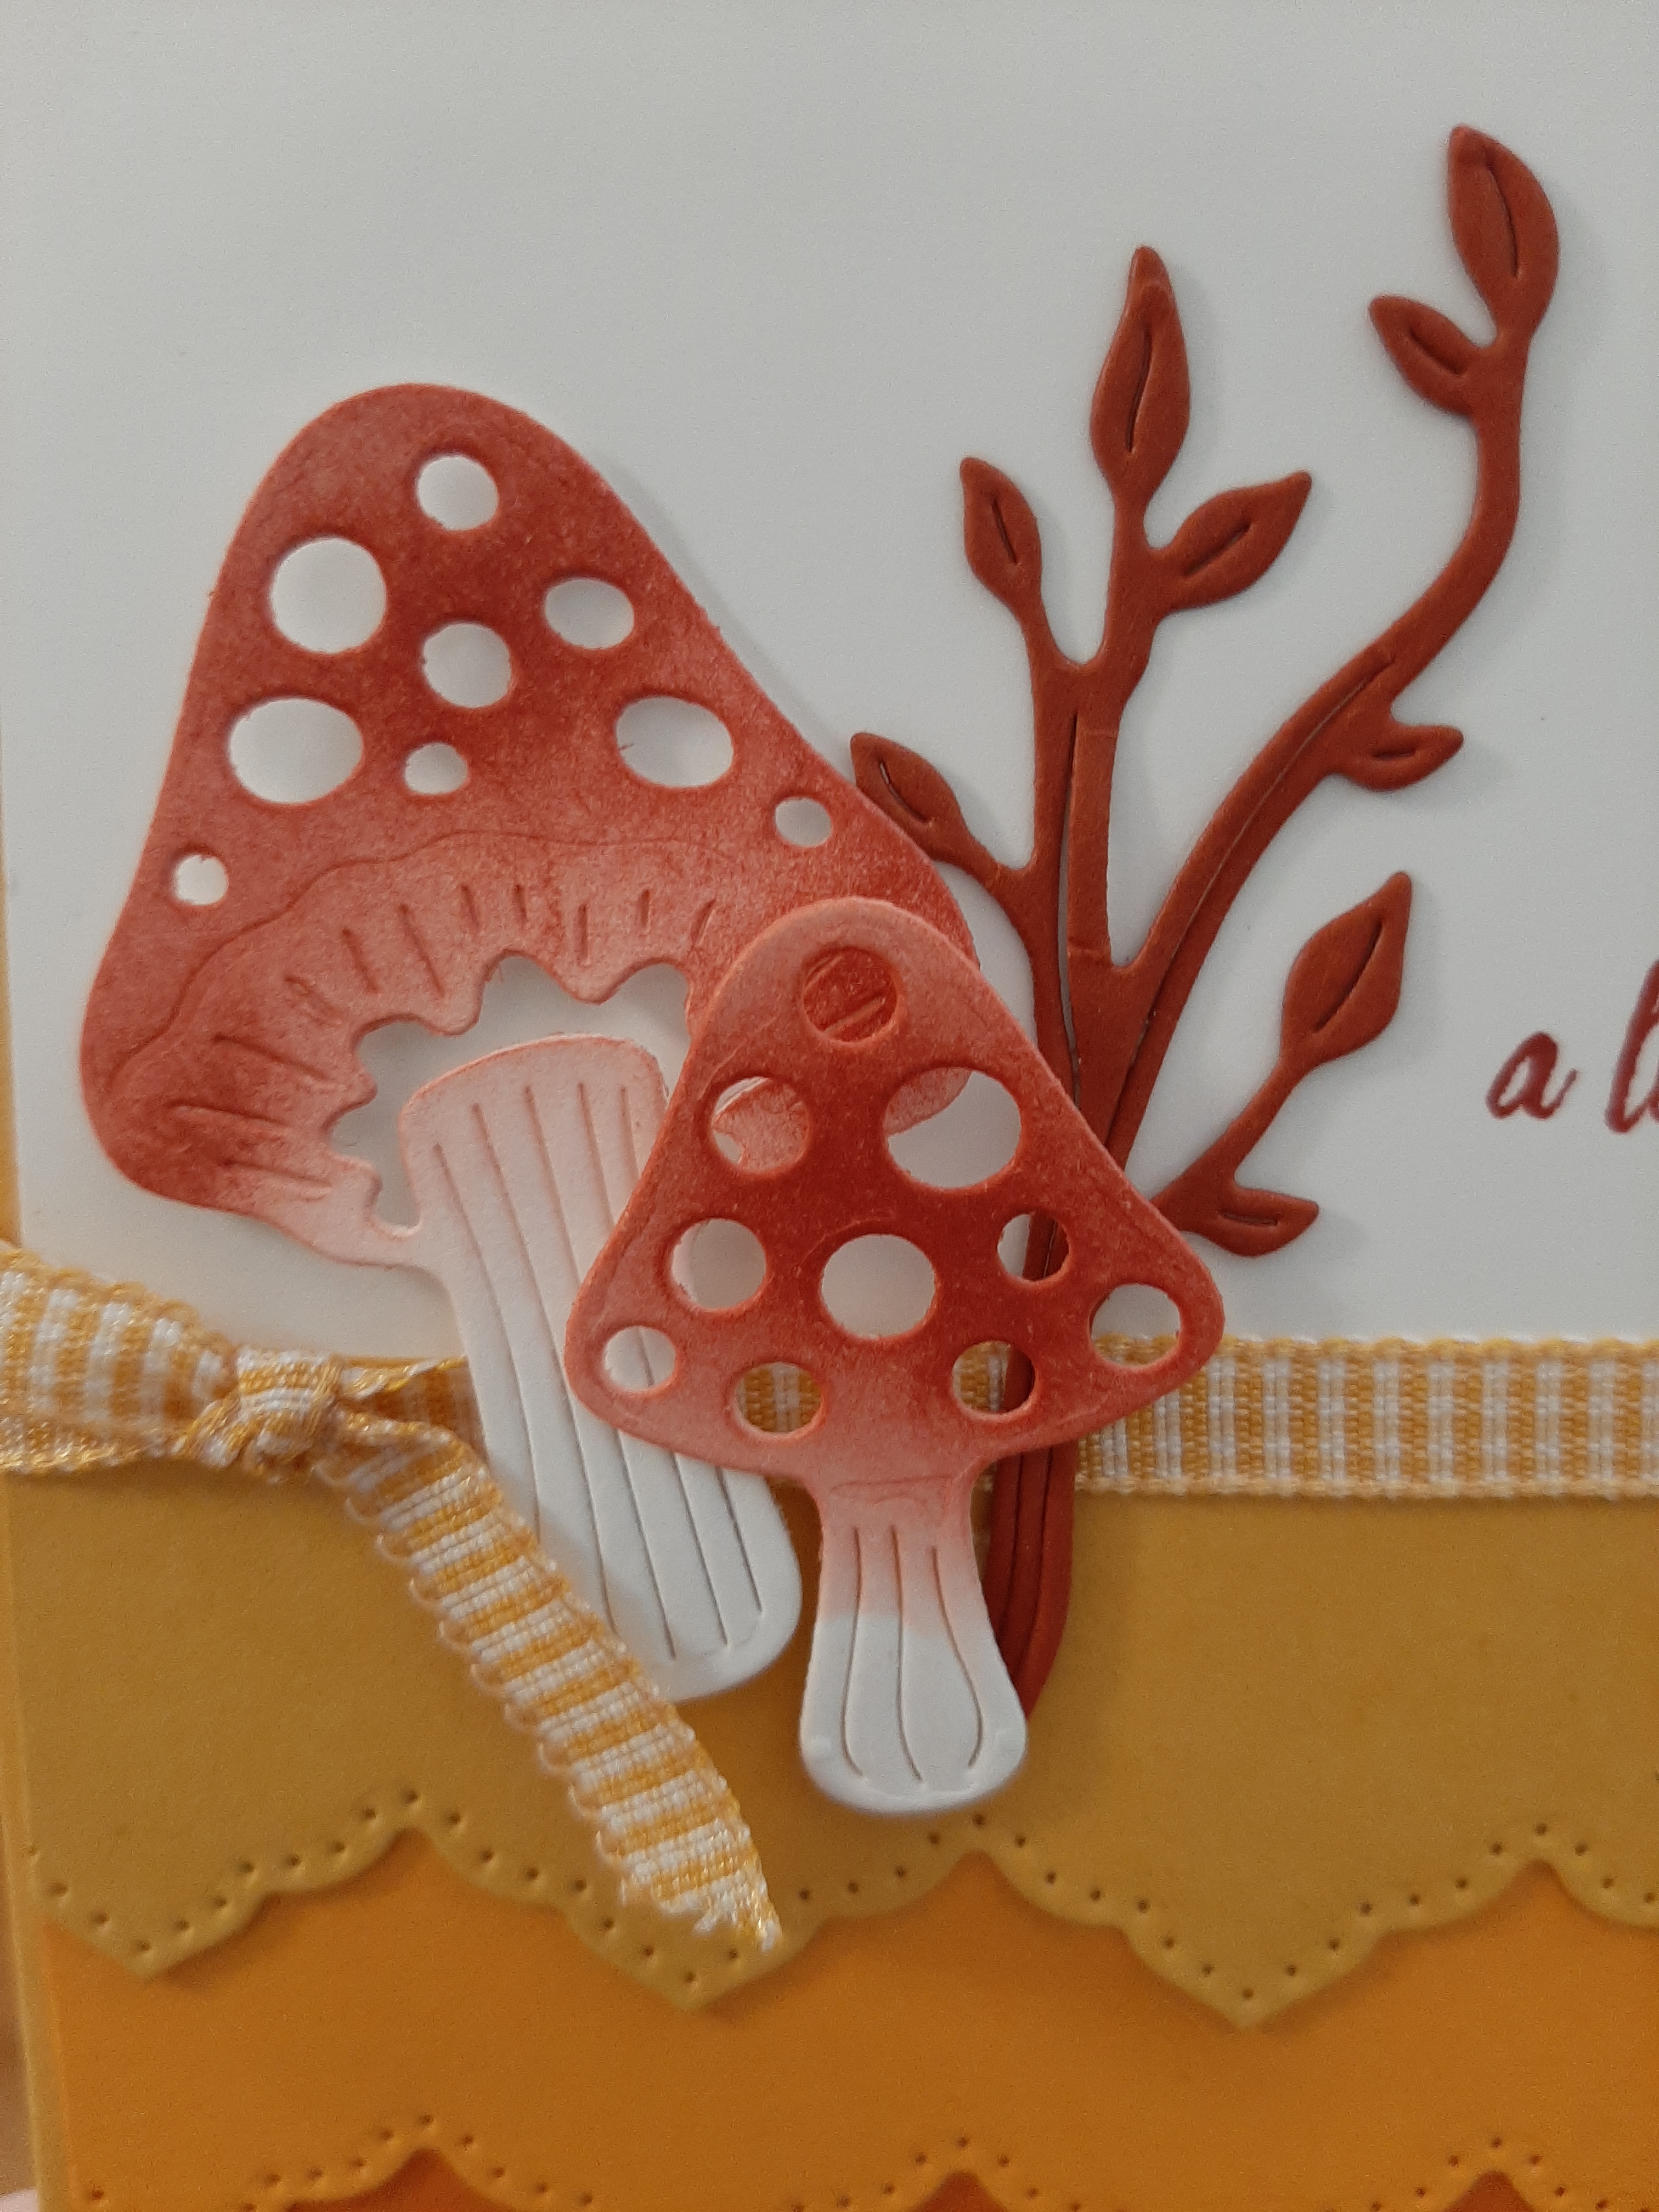
Hello Crafting Hugs Friends! Today’s card features the Daisy Garden stamp set and a few terrific techniques to create one fabulous card that will surely bring a smile to someone!

I just love the beautiful line art of the Daisy Garden stamp set. It is sized perfectly for both cardmaking and scrapbooking projects. Stamp once for an organic bouquet for a card, or stamp multiple times for a repeated background on a scrapbook page. The realistic art style makes this stamp set very versatile for coloring and for many different techniques.

This card was created using five easy techniques: Embossing Resist technique with Color Blending, Bleaching, Splattering and Layering with Mats. These are techniques that you’ll want to use over and over again.

To re-create this card, begin with wiping the card front with a anti-static dryer sheet, then stamp card front using VersaMark ink. Sprinkle white embossing powder over the “wet” stamped image. VersaMark ink takes longer to dry than our classic inks and the stickiness holds the grains of embossing powder. Next, use your Heat Tool to melt the embossing powder to create your embossed card front.

Next, using your Blending Brushes to apply Pale Papaya, Calypso Coral and Old Olive inks to top, middle and bottom of your embossed card front. The embossed image will resist the ink. Use a tissue to wipe away any excess ink.

Next, fill your Water Painter with water and a few drops of bleach. Color within the lines of the embossed image, such as the leaves and the buds. To create a splattering of droplets, tap your Water Painter against a pencil or edge of your bone folder. Tip: You may want to do this tapping outside and wearing old clothes — just in case you get overly zealous with bleach splatters.

Allow the card front to completely air dry – or speed things up using your Heat Tool.

Mat the card front with coordinating cardstock and embellish with Pearl Basic Jewels and ribbon. Tip: Use Stampin’ Blend Alcohol Markers to change the color any ribbon to match your project

Supplies:

Until next time, sending crafting hugs and inspiration wishes!

Lisa

Festive Foliage

Hello Crafting Hugs Friends! Today, I am going to share with you a gorgeous background stamp called the Festive Foliage Stamp Set. The open line art of the stamps is perfect for practicing your favorite coloring techniques, such as water coloring, color blending, and more! This background stamp is very versatile – the greenery image is perfect for any season or any occasion.

The card front was masked with post-it notes, in order to get sharp crisp lines during color blending. Several Blending Brushes were used to apply Cherry Cobbler, Olive Green and Soft Succulent inks randomly. While the post-it note mask was still in place, I added a few splatters from a Wink of Stella Glitter Brush. After allowing the piece to dry, the background image was stamped using Evening Evergreen ink and the Stamparatus.

I just love how easy the Stamparatus makes creating beautiful things. A must-have tool for all stampers because the Stamparatus is fool-proof. It helps you to perfectly align stamp images, to stamp multiples of the same project quickly and precisely, and to get complete ink coverage when the stamped image is incomplete or too light. It is perfect to use with this large background stamp to get complete ink coverage and crisp lines.

The card front was embossed using Tasteful Textures 3D Embossing Folder. The sentiment from Perfectly Plaid stamp set was stamped, punched with Everyday Label Punch and popped up with Stampin’ Dimensionals. And lastly, the card front was matted with Cherry Cobbler cardstock to make it more festive.

Supplies:

Until next time, sending you crafting hugs and inspiration wishes!

Lisa

Let’s Celebrate You

Hello Crafting Hugs Friends! Today, we are celebrating friendship! While this could be a card for any occasion, today it is about friendship and how much I appreciate each and every one of you!

To create this beautiful card, you will need solid sheet of Basic White cardstock and your favorite blending tool. With its smooth surface, it is easy to blend colors together with a few couple swirls using either our Blending Brushes, Sponge Daubers or a few make up sponge. I just love our new Blending Brushes. It is so easy to color and blend with these brushes.

Tip: After inking, remember to “tap off” the ink on scrap piece of paper. This will minimize the potential for swirl lines as you apply the color

To create this card, apply color using your favorite blending tool on a piece of Basic White cardstock using uses Gorgeous Grape, Highland Heather, Bermuda Bay, Coastal Cabana, Soft Sea Foam and Granny Apple Green. Once you have the many different color, allow to air dry, then die cut using the Brilliant Wings Dies. Select your favorite butterflies and bend the wings upward to add dimension and movement to the card.

To create the card front, stamp the words “LET’S”, “Celebrate” and “You” from the Create with Friends stamp set in Granny Apple Green ink. This is an essential stamp set to celebrate your close cardmaking friends! Elegant font and different word pairings makes it a very versatile stamp set useful for any occasion. Use the speckled stamp image from Quiet Meadow stamp set to add some color to the background piece.

Tip: Many stamp sets include speckled stamped images. Alternatives to Quiet Meadow include Painted Poppy and Friends are Like Seashells have smaller speckled stamp to use. Triple mat with Highland Heather, Basic White and Just Jade cardstock.

Using Multipurpose Liquid Glue, apply a thin strip of glue to the body of the butterfly and attach to the card front. Embellish with a few Rhinestone Basic Jewels. And you have a colorful card ready to celebrate friendship anytime and for any occasion!

Thank you so much for your wonderful friendship. I hope that we can get together and craft soon!

Please leave a comment and let me know what you’re creating with your Stampin’ Up products.

Until next time, sending you crafting hugs and inspiration wishes for celebrating friends!

Lisa

Delicate Dahlias – Free Sale-a-Bration Stamp Set

Hello Crafting Hugs Friends! I hope that you are doing well. Today’s card is delightful creation by my friend, Michelle Avants, using Delicate Dahlias Photopolymer Stamp Set.

This stamp set is my Number #1 pick from the Sale-a-Bration Brochure. It is a distinktive stamp set that gives you photorealistic floral images. It is a Two-Step stamp set, that allows you to layer two or more images to create one final image with extra texture and dimension in the colors you want. And best of all, the Delicate Dahlia stamp set is free with a purchase of $100 or more now through September 30, 2021.

I love how Michelle combined several techniques together to make such a delightful creation. Techniques used: Layering cardstock and pattern paper; Coloring black & white pattern paper with Blending Brushes; dry embossing using Tasteful Textile 3D Embossing folder; Two-step stamping; Die cutting using Scalloped Contours dies; and finally Adding dimension and shine with Stampin’ Dimensionals and Pearl Basic Jewels.

The flower outline was stamped in Rich Razzleberry ink while the solid flower image was stamped in Fresh Freesia ink. Similarly, the three-leaf image was stamped in Pear Pizzazz and Soft Sea Foam inks.

Supplies Used:

If you are interested in any of these products, please click here to visit my on-line store or use any of the links provided.

Remember, now through September 30th, you receive free Sale-a-Bration items for purchases of $50, $100 or more. And, if you place an order over $150 – you double dip earning both Sale-a-Bration items plus another 10% in free Stampin Rewards! Woo Hoo!

Until next time, sending you crafting hugs and inspiration wishes!

Lisa

Celebrating Sunflowers

Hello Crafting Hugs Friends! Thank you for stopping by!

Today’s card is monochromatic card created in shades of yellow with a Blending Brush. Our new Blending Brushes with velvety soft bristles blend ink perfectly to create soft gradients of color without brush marks or lines.

For this card, I cut two large sunflower diecuts using Sunflower Dies and Basic White cardstock. I cut the flower center using Bumblebee cardstock. The sentiment was stamped on a scrap of Basic White cardstock and fussy cut.

Next, I inked my Blending Brush using Daffodil Delight and applied ink in a circular motion in the center of the card front. I continued inking and applying color until I got a soft gradient of color slight larger than the die cut from the Sunflower Dies.

The two sunflower dies were attached using Multipurpose Liquid Glue, layering one on top of the other to create texture. To add dimension, the Crushed Curry floral center and the sentiment were popped up with Mini Stampin’ Dimensionals. The card front was triple matted, with the last layer being two triangles.

Inside, the stamped image is double matted.

Supplies Needed:

To purchase any of the supplies used, please visit my online store using any of the links provided.

Until next time, sending you crafting hugs and inspiration wishes!

Lisa

Card Making Using Dies

Hello Crafting Hugs Friends! Welcome! Thank you for stopping by!

Here is a card that I received from another Stampin’ UP Demonstrator and Friend, Michelle Brown, who created this darling forest scene using the Iconic Dies and Basic Border Dies. Can you image the little creatures that live there? Maybe a fairy or gnome? Or tiny turtle?

It is so easy to create your own fairytale forest scene with the Iconic Dies! These dies are very versatile can be combined with other stamped images and die cuts to make one-of-a-kind scene. Try layering the die cuts in natural tones and other stamped images, and you’ll have a masterpiece! There are so many options with these Iconic Dies!

Dies help you create unique die-cut shapes and paper cut outs with just a quick run through your Stampin’ Cut & Emboss Machine. And, die cuts can easily be colored with a few swipes of Blending Brushes for a natural color look.

If you are interested in any of these products, simply click on the links provided or click here to visit my online store.

Until next time, sending you crafting hugs and inspiration wishes for creating your own fairytale masterpieces.

Lisa